How To Enable Platform Access Via Web Browser
For your device to be able to connect to the cloud viewing platform, you must enable Platform Access
This guide will walk you through the steps to accomplish this using your computer and a webbrowser
**NOTE** This guide requires that your recorder be connected to your network, configured with an IP address, and have access to the internet.
Step One
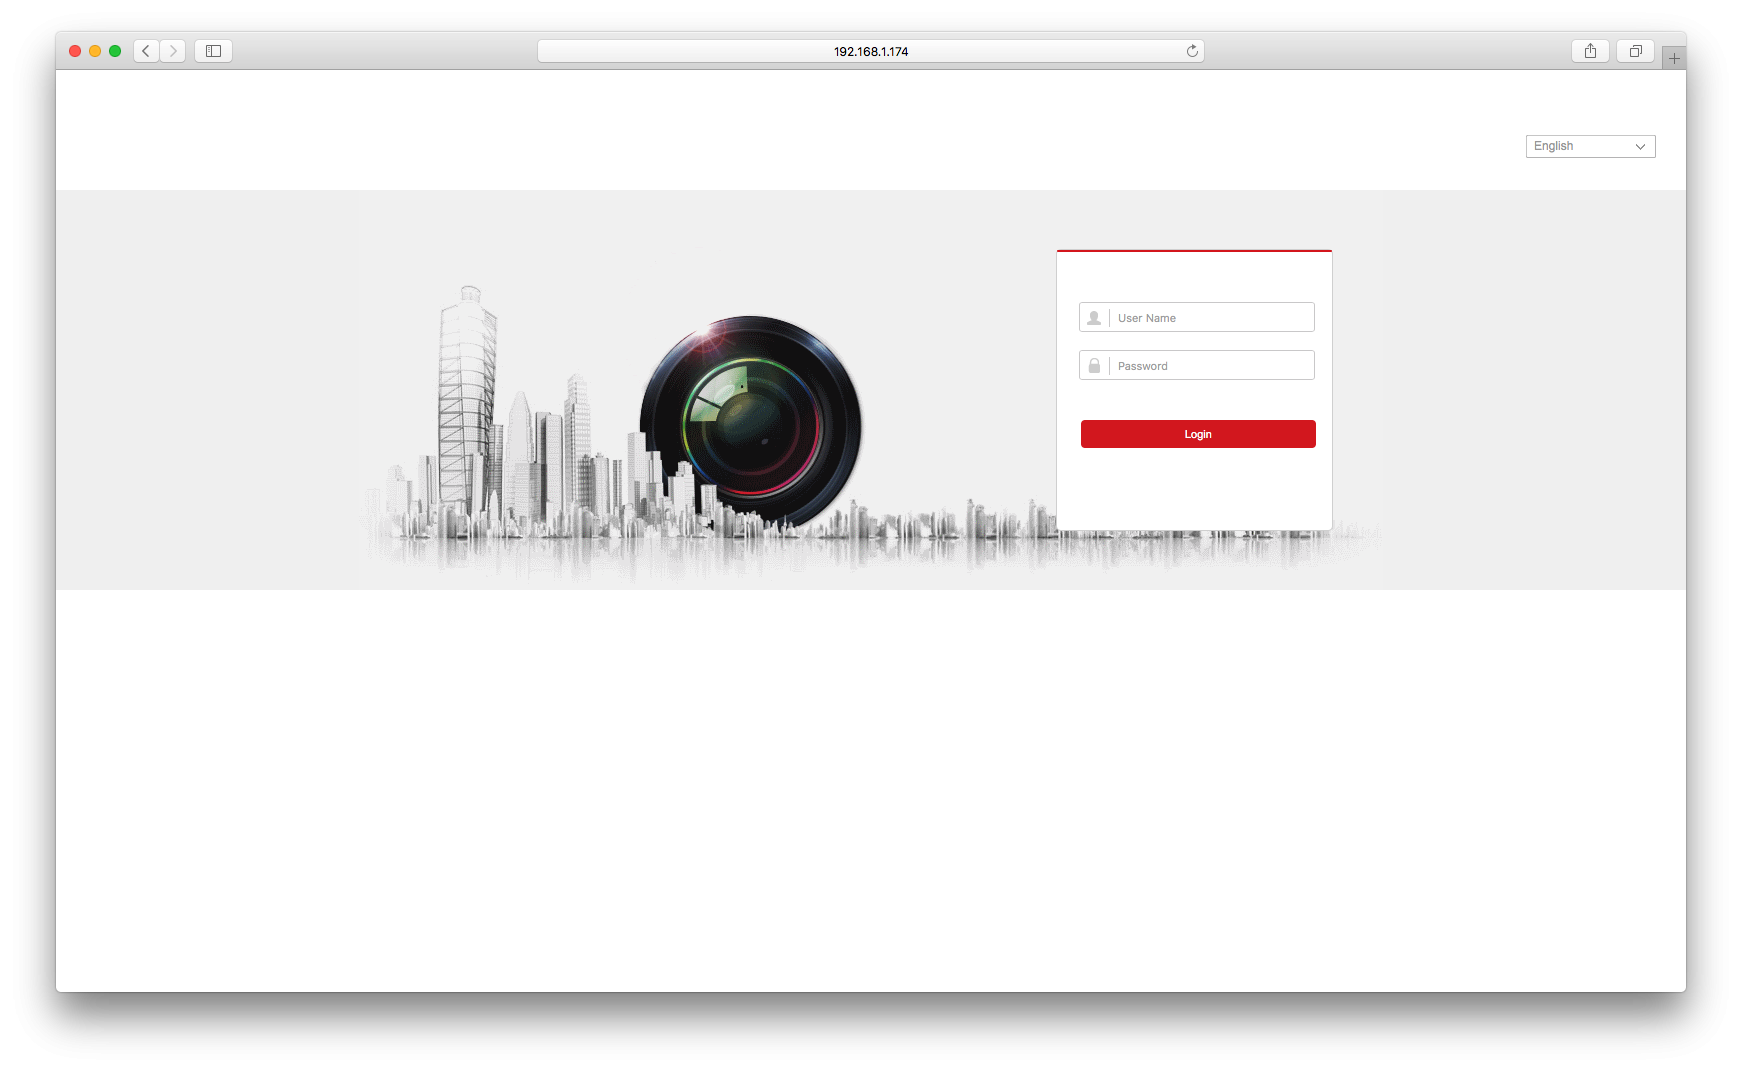
Using Internet Explorer (on PC) or Safari (on Mac) got to the IP Address you've assigned to your recorder and Login. If you have not changed the password, the default login info is Username: admin & password: admin12345. We strongly suggest that you change the admin password to something other than the default as default passwords are very insecure.
Step Two
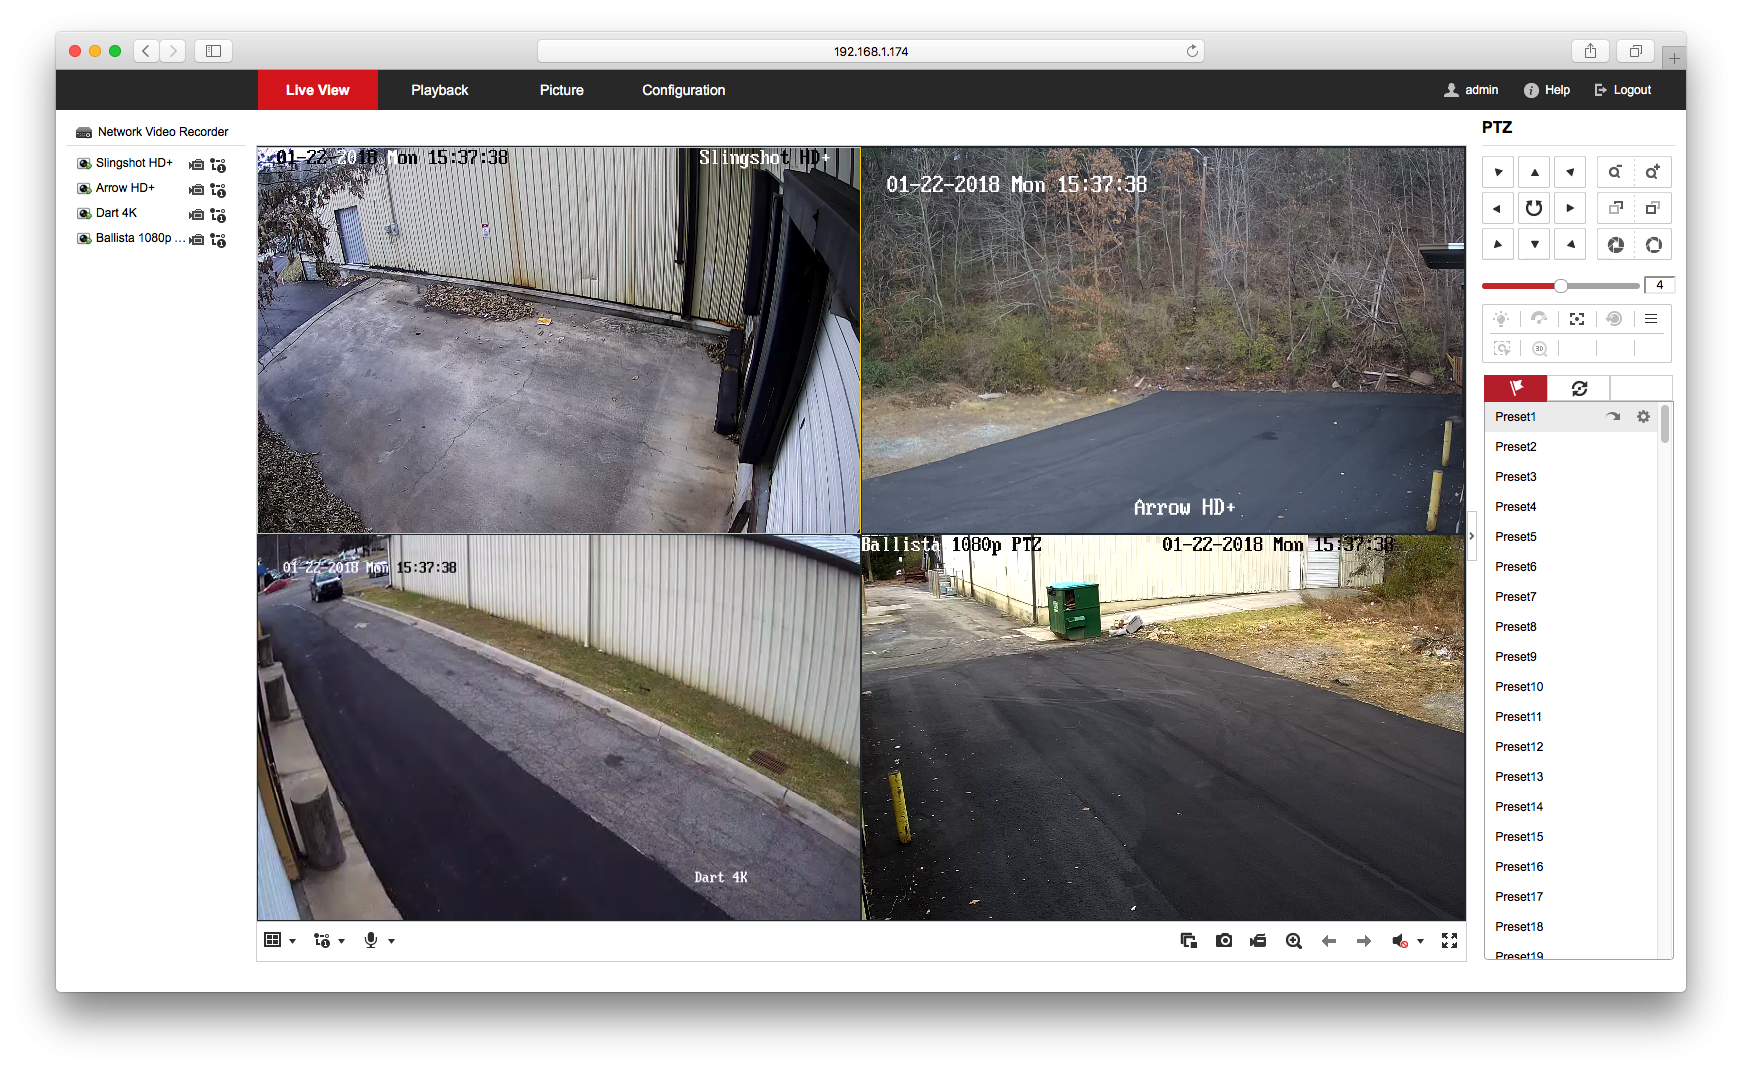
Once logged in, click on the configuration menu in the top black bar.
Step Three
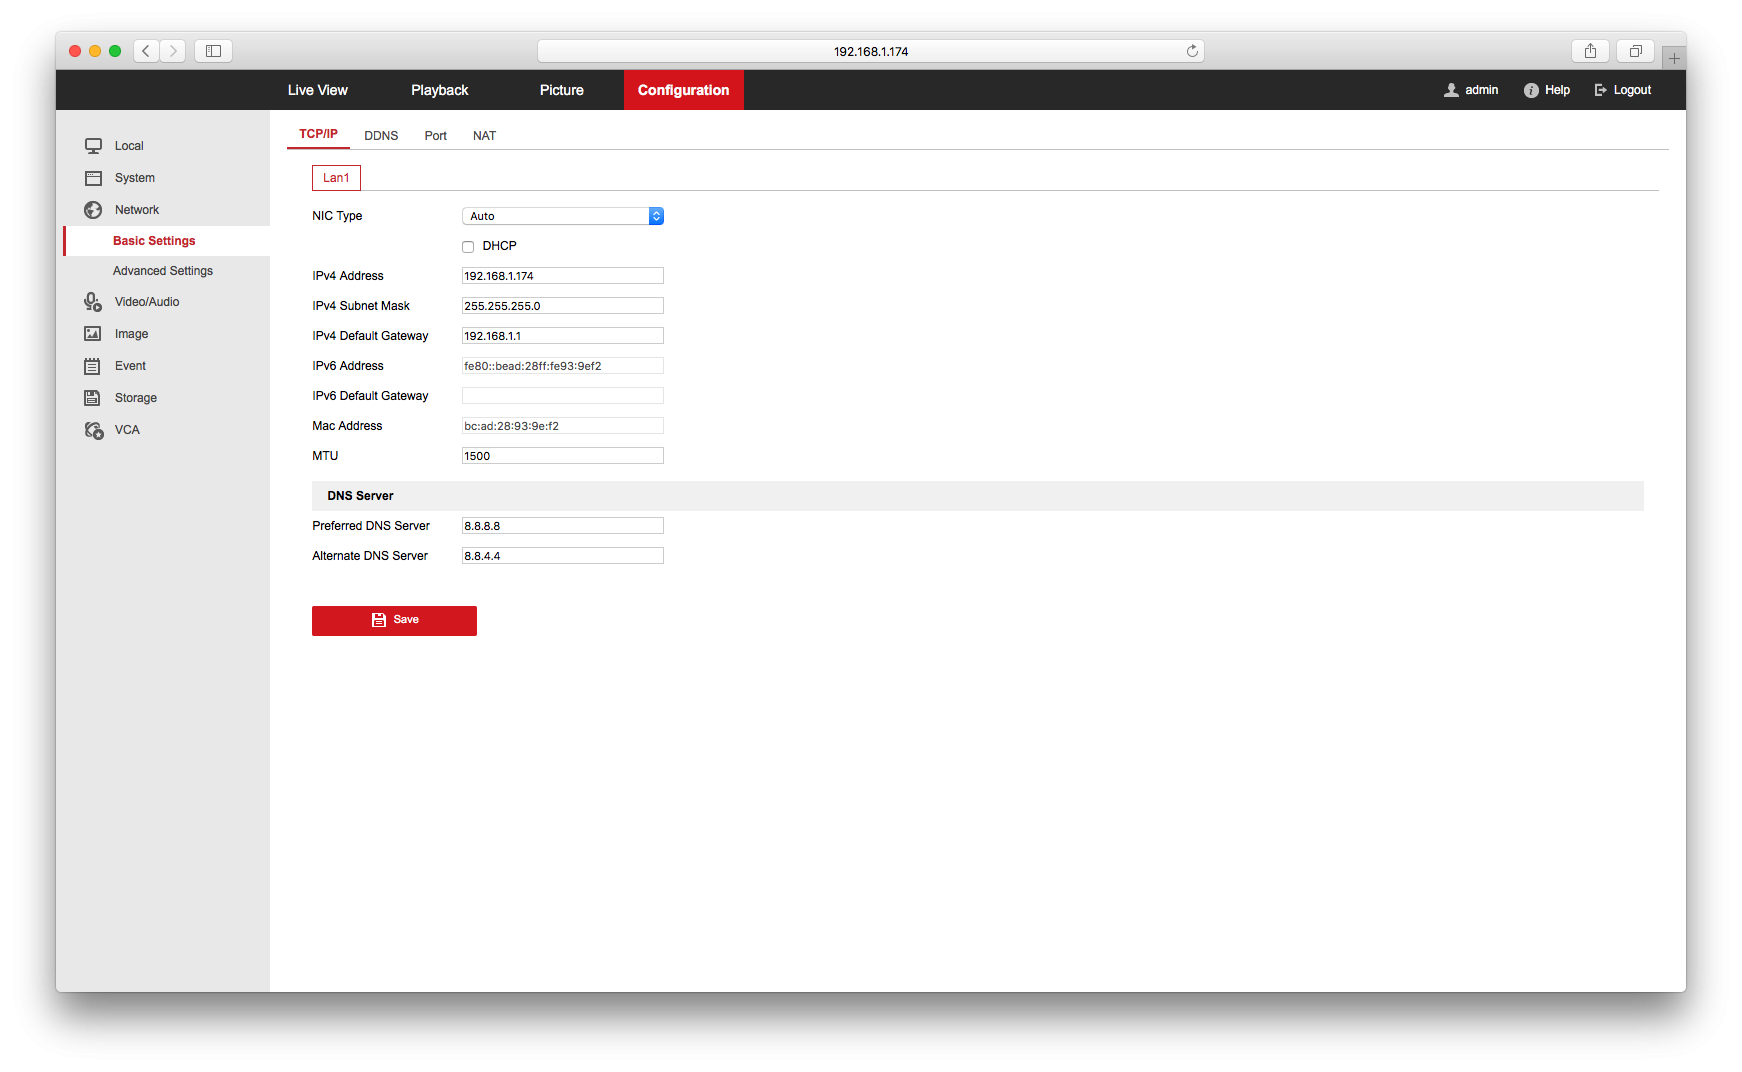
In the left menu, click on Network > Basic Settings. At the bottom of this page, check the Perferred DNS Server & Alternate DNS Server fields. If both are blank, enter in the devices gateway IP address OR Google's free DNS servers (8.8.8.8 and 8.8.4.4). Then Click Save.

Step Four
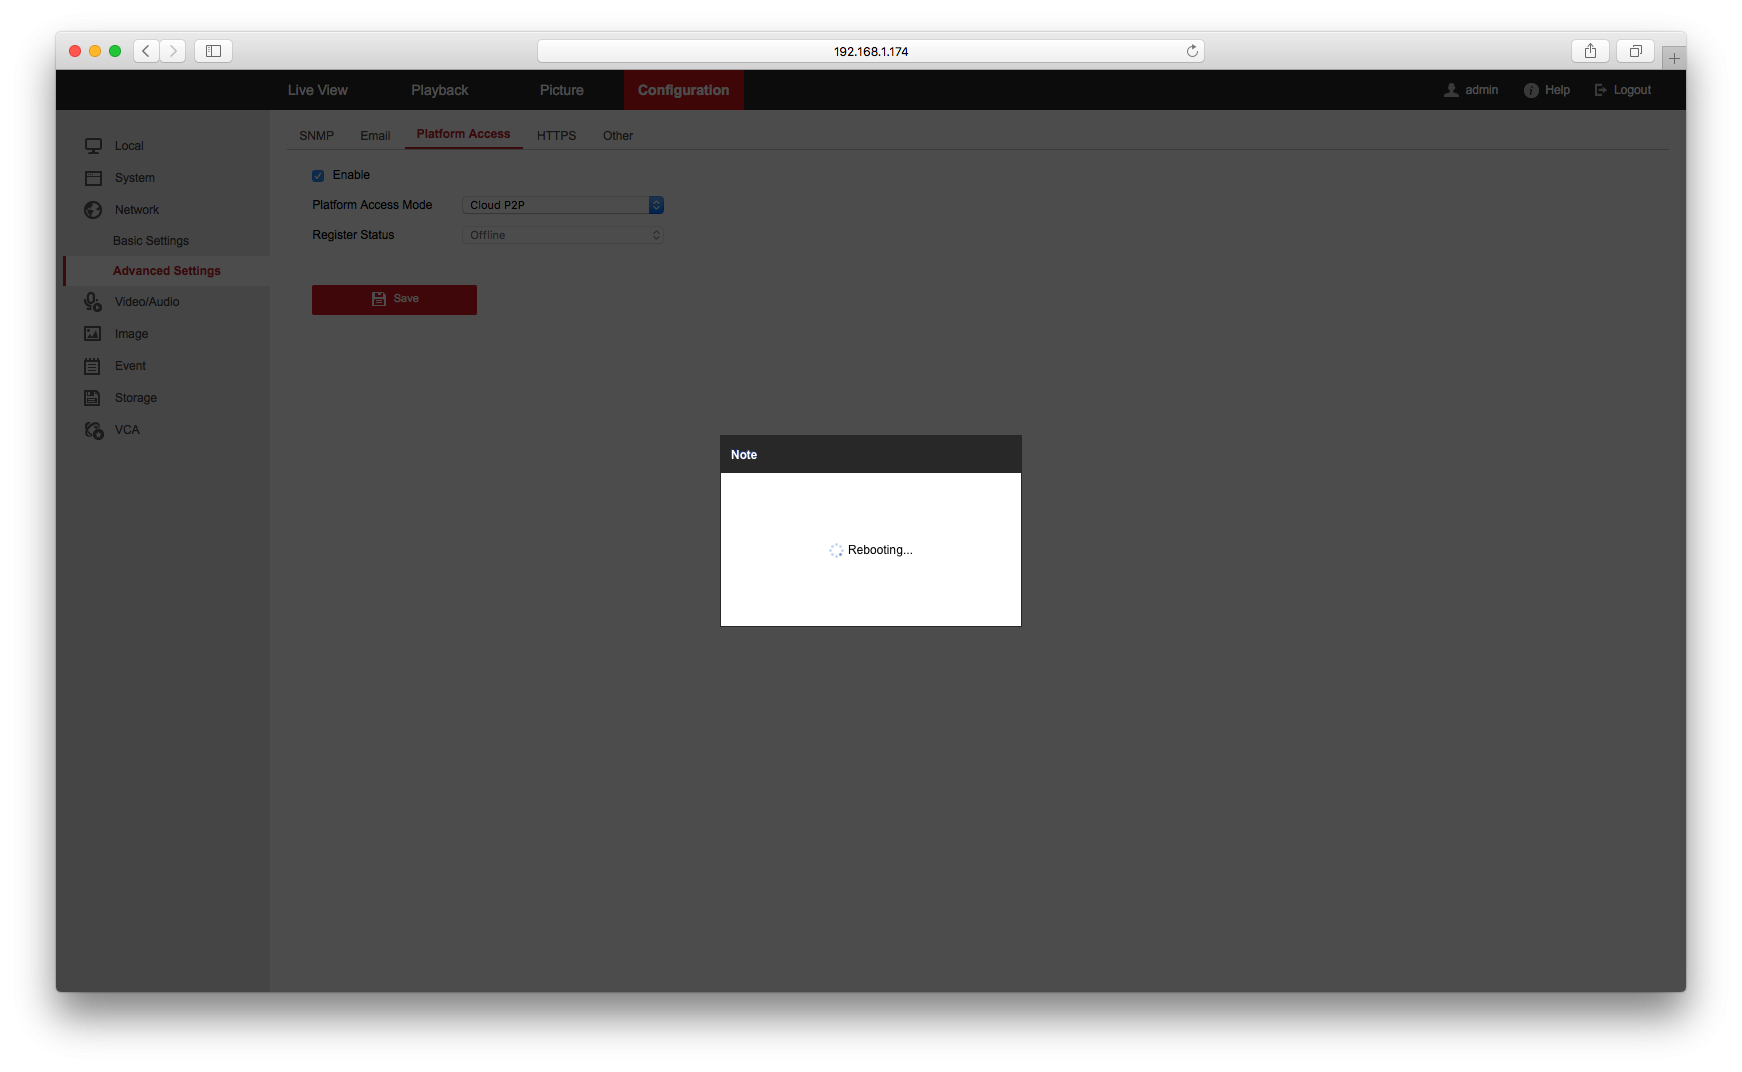
Next, in the left menu click on Network > Advanced Settings > Platform Access. Click the Checkbox marked 'Enable' to enable platform access. Click Save.
Step Five
Wait for your recorder to reboot then log back in.
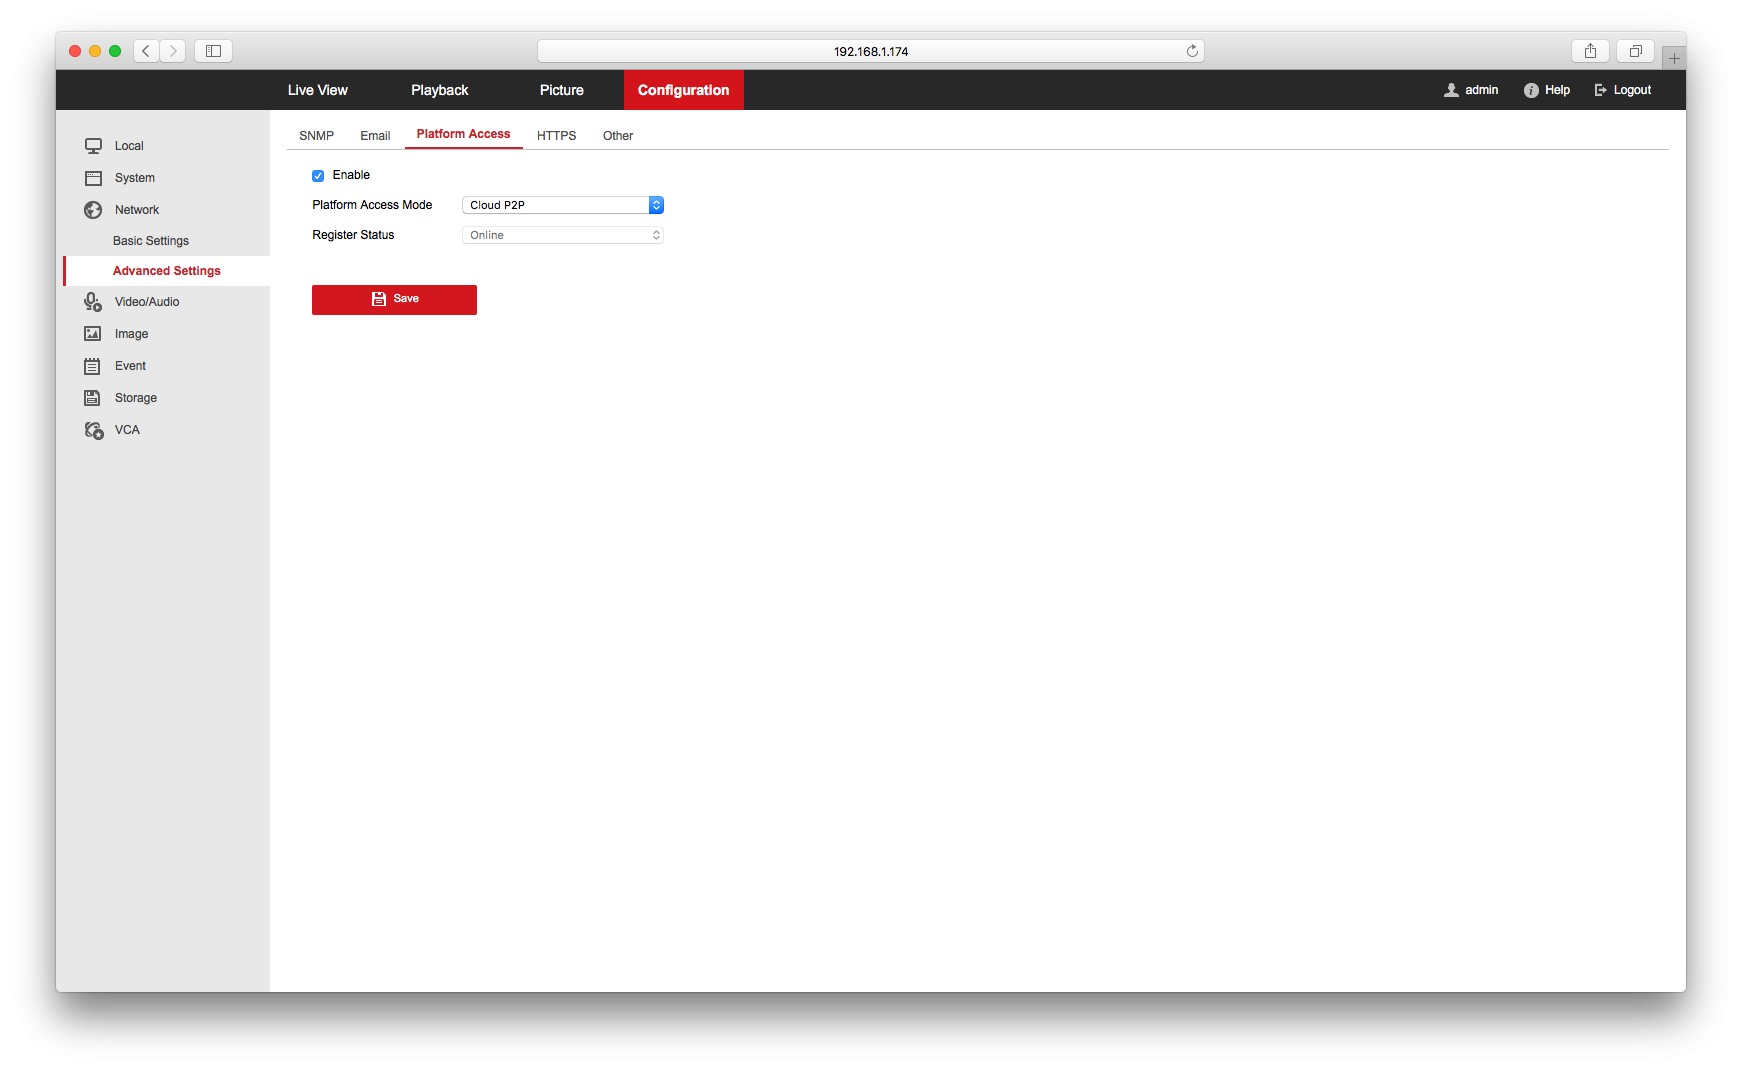
Step Six
Navigate back to Configuration > Network > Advanced Settings > Platform Access and confirm that the Register Status now says 'Online'
That's it! You are now ready to move to the next step of adding your recorder to your cloud account.
